Introduction
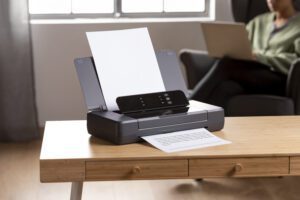
Setting up a new printer might seem tricky at first. But with the right steps, you’ll get it running smoothly in no time. Proper installation ensures your printing quality stays high and your device works without hiccups. If the setup feels confusing, it leads to frustrations like paper jams or poor print quality. Following a simple, step-by-step process makes setup easier and makes your printer last longer.
Choosing the Right Printer and Preparing for Setup
Assessing Your Printing Needs
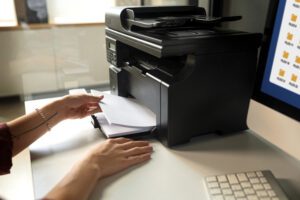
Picking the right printer depends on what you need. Inkjet printers are great for photos and color printing. Laser printers are faster and better for large documents. Multifunction printers print, copy, scan, and fax all in one device. 3D printers are for specialized projects like models and prototypes. Think about how much you print, whether color matters, and your connectivity options when choosing a printer.
Unboxing and Initial Inspection
Remove the printer from its box carefully. Check that everything matches the list in the manual. Make sure no parts are broken or missing. Look for power cords, ink or toner cartridges, and paper supplies. Doing a quick inspection prevents surprises later during setup, saving you time and hassle.
Gathering Necessary Tools and Accessories
Gather what you need before starting. Grab cables like USB or Ethernet cords, ink cartridges, and paper sheets. It’s also handy to have a screwdriver if assembly is needed. Having everything ready helps the setup go smoothly and keeps your workspace organized.
Connecting Your Printer to Power and Network
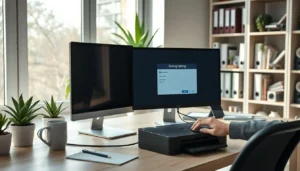
Powering On and Initial Setup
Plug the power cord into the printer and an outlet. Turn the device on. Use the onboard menu to select language, region, and date/time. These settings help the printer communicate correctly with your computer and network.
Establishing a Wired Connection
For speed and reliability, connect your printer with a USB cable or Ethernet cable. Plug one end into the printer and the other into your computer or router. Keep cables neat and avoid tight bends to prevent damage. Wired connections rarely drop, so they’re perfect for busy offices.
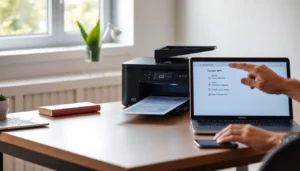
Setting Up Wireless Connectivity
Most new printers support Wi-Fi. Access the menu and select your Wi-Fi network. Enter your password carefully. Once connected, the printer can communicate wirelessly with multiple devices. If the connection stalls, check your Wi-Fi signal strength or restart the router.
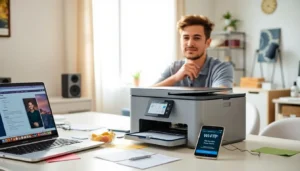
Using Mobile Devices for Setup
Many printers now use apps. Download the manufacturer’s app on your smartphone or tablet. Scan QR codes or use NFC if available. These features make wireless setup quick and easy, especially if your device supports touchless configuration.
Installing Printer Drivers and Software
Downloading the Latest Drivers
Head to the manufacturer’s website. Find your printer model and your computer’s OS. Download the newest driver and software package. Running the latest version ensures better compatibility and security.
Installing Printer Drivers on Different Operating Systems
On Windows, you might use the automatic detection feature or run the setup file manually. For Macs, go to System Preferences, choose “Printers & Scanners,” and add your printer. Linux users may need to install compatible drivers through your distro’s software center or use CUPS (Common Unix Printing System).
Essential Printer Management Software
Many printers come with software for maintenance. Use it to check ink or toner levels, update firmware, or run cleaning cycles. These tools keep your printer working at its best longer and reduce downtime.
Configuring Printer Settings for Optimal Performance
Default Print Quality and Paper Size
Adjust your default settings for different jobs. Use draft mode for quick copies to save ink. Switch to high quality for important documents. Choose the correct paper size and type, like letter or photo paper, directly in the printer menu or computer settings.
Setting Up Network and Sharing Settings
Enable sharing on your computer so others can use the printer. Assign a static IP address to avoid connection issues when the device reboots. This makes sure everyone on your network can print without interruptions.
Setting Up Security and User Access
Secure your printer with passwords, especially if it’s on a network. Manage permissions so only authorized users can print or change settings. This protects sensitive information and keeps your printer safe.
Configuring Automatic Updates and Maintenance
Set your printer to update firmware automatically. This fixes bugs and adds features. Regularly run cleaning cycles and calibration to keep printouts sharp. Scheduled maintenance saves headaches and extends your device’s life.
Testing and Troubleshooting Your Printer Setup
Performing a Test Print
After setup, print a test page. Use the printer menu or software. Check for clear print quality, proper alignment, and correct colors. It’s a quick way to catch issues before serious printing.
Common Setup Issues and Solutions
Connection problems are common. Reset your Wi-Fi or cable connections if needed. Driver errors can be fixed by reinstalling or updating the software. Paper jams or cartridge problems often clear with simple checks or replacing parts.
Expert Recommendations for Ongoing Maintenance
Keep your printer clean by wiping down rollers and removal of dust. Check ink or toner levels regularly. Keep drivers and firmware up to date to avoid compatibility problems. Proper care ensures your printer remains reliable for years.
Conclusion
Getting your new printer up and running doesn’t have to be complicated. Follow these clear steps—select the right device, connect it properly, install the latest drivers, and fine-tune settings. An organized setup reduces issues, and regular maintenance keeps everything running smoothly. Bookmark manufacturer support pages and manuals for future help. With a little effort, you’ll enjoy high-quality, trouble-free printing every time.