
I remember constructing my initial website and feeling inundated with technical terminology. I have helped many friends and clients build their websites.
I have made the process simple. It has five easy steps that anyone can follow. No coding required!
Step 1: Start With the Basics (Before You Build a Website)
Ask yourself:
What’s the one main thing I want this website to do? (Sell? Showcase work? Share ideas?)
Who’s my ideal visitor? (Imagine one real person you’re helping)
What 3-4 pages do I need? (Most sites start with: Home, About, Contact, and either Blog or Shop)
Expert advice from my errors: Avoid overanalyzing this! You can always add pages later. I spent weeks attempting to design the “ideal” site layout before discovering that implicit is more effective.
Step 2: Claim Your Spot on the Internet to build a website
You need two things:
A domain name (Your web address, like YourName.com):
Keep it short and easy to spell
Avoid cutesy misspellings (they confuse people)
Check availability on Namecheap or Google Domains
A hosting provider (Where your site lives online):
Beginners: Use Bluehost or Hostinger (affordable and easy)
If you hate tech stuff, Squarespace or Wix handles hosting for you
Real talk: Your first domain name must be perfect. My first site was “AmysRandomThoughts.net”—not professional, but it got me started!
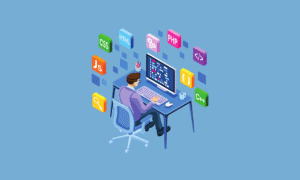
Step 3: Choose Your Tools to build a website
Here’s the truth: Coding is optional unless you have the desire to do it.
Option A: The Easy Button
Wix or Squarespace: Click, drag, and you’re done. Great for portfolios or small businesses.
Best for: People who want a site to be live by tomorrow
Option B: More Control (Still Easy)
WordPress (the free version, not WordPress.com):
1000s of free designs
Add features like shops or forums later
Slightly steeper learning curve, but worth it
Personal recommendation: If you’re even slightly curious about growing your site long-term, go with WordPress. I resisted at first but now can’t imagine using anything else.
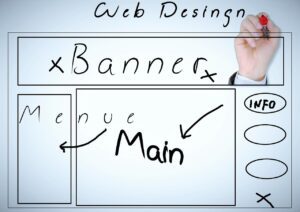
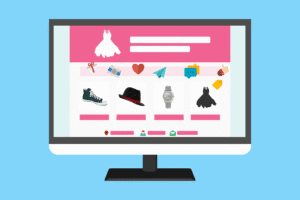
Step 4: Build a website Yours (Without Going Crazy)
When I designed my first site, I got carried away with animated GIFs and rainbow colors. Avoid repeating Amy’s past mistakes!
Keep design simple:
Pick a template you like
Change just these elements:
Your logo (or just your name in a nice font)
1 main color (use Coolors.co for ideas)
Your photos (real pics > stock images)
Must-have pages:
Homepage: Explain what you do in one sentence
About Page: Tell your story like you’re talking to a friend
Contact: Just an email form or your social links
Time-saving hack: Set a 2-hour timer to build your first draft. Perfectionism is the enemy of progress!
Step 5: Launch a Website Before You Feel Ready
Here’s how to go live without stress:
Preview on your phone (Most visitors will be mobile)
Ask one friend for feedback (Not 10—that causes chaos)
Fix only critical errors (Broken links, unclear messaging)
Hit publish!
Truth bomb: Your first version will be messy. My early sites were embarrassing, but putting them out there led to real opportunities.
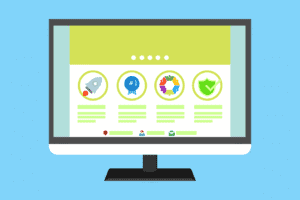
What Next?
Add Google Analytics (free traffic stats)
Write one new piece of content weekly
Tweak based on what visitors respond to
Remember: Every expert was once a beginner staring at a blank screen. The magic happens when you start, not when everything’s perfect.
Need help choosing tools? Here’s what I use:
Blog/Portfolio: WordPress with Astra theme
Small Business: Squarespace
Online Store: Shopify
What’s holding you back from starting today? Inform me, and I’ll provide you with a direct response!
For more information visit our website at www.webgyan.in or reach us at info@webgyan.in